
Build an Octagonal End Table
Learn how to fabricate a stylish steel end table using square tubing, plate steel, plasma cutting, and MIG welding techniques suitable for hobbyists and makers.
SAFETY FIRST
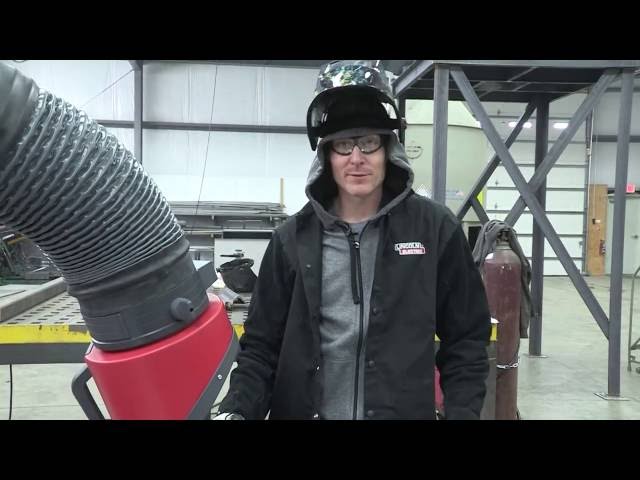
Before you start any project involving welding, make sure you have the right Personal Protective Equipment (PPE), which includes, at least, an ANSI-approved welding helmet, safety glasses, appropriate welding gloves for the process you’re using, and a flame-resistant shirt, jacket, or sleeves to protect from UV rays and burns. You should also keep a fire extinguisher close at hand. Use adequate ventilation when welding. Use an approved respirator if exposure to welding fume cannot be controlled, or if welding outside and natural air movement is not sufficient to keep welding fume out of your breathing zone.
Constructing an Industrial-Style End Table with an Octagonal Top
An end table can be a useful piece of furniture in just about any room in the home. When it’s made from unfinished industrial steel, in a shape that doesn’t fall into the typical square or rectangular configuration, that useful piece of furniture can also be a stylish addition to the room and an intriguing conversation piece.
With the right materials and tools, building a steel end table with an octagonal top is a relatively simple project.
Putting it All Together
Before you start welding, make sure your surfaces are as clean as possible. Grind the edges of the pieces to remove any mill scale that might compromise the welds.
Step 1:
1. Line up the end cap with the flat end of the 4” vertical pedestal leg piece. Tack weld one corner, then tack the opposite corner, then tack the two remaining corners. Check after each tack to make sure the piece is sitting flat. Then fully weld the end cap piece to the pedestal leg. Repeat for the remaining 3 legs.
2. Grind all welds smooth. (Tip: To make the joints appear seamless, grind the pieces on the flats first. Then grind to match the roll of the tube.)
Step 2:
1. Line up the angled cut of a 4” piece to the angled cut of a 7” piece, using the pivot angle set at 90°. Tack weld the two inside corners of the seam, then the two outside corners. Fully weld all seams. Repeat this process for the remaining 3 legs.
2. Grind all welds smooth and flush.
3. To bring the surface of the pieces to a smooth furniture quality, use a wire wheel to complete the buffing process.
Step 3:
1. Use the mini multi angle fixture to join the pieces to form the octagon. Use scrap pieces of metal to stabilize the parts for welding.
2. Tack one piece of the octagon assembly to another on the two outside corners.
3. Continue to join additional pieces of the octagon with outside tack welds until the octagon is formed.
4. Draw a template of the 18” octagonal table top on the 14-gauge steel plate.
5. Double-check the tacked octagon pieces against the template to confirm the parts will fit together.
6. Tack together the inside corners of each of the seams of the octagon frame.
7. Fully weld together all of the octagon pieces. To minimize heat distortion, make alternate welds: weld an outside seam and then an inside seam on the opposite side of the piece. Weld the flats first, then the tops and bottoms.
8. Grind all welds smooth.
9. Use a wire wheel to buff pieces to a smooth finish.
Step 4:
1. Clamp guides at the corners of the steel plate to ensure accurate cuts.
2. Cut the octagonal table top with a plasma cutter.
3. Grind all edges until smooth. Join the octagonal frame to the octagonal tabletop
Step 5:
1. Place the octagonal plate right side down. Line up the plate with the octagonal frame and apply weights to stabilize the assembly.
2. Tack weld the pieces together at each angle point inside the frame. Any additional welding may warp the flat steel plate.
Step 6:
1. Using the pivot angle magnetic fixture set at 90°, line up a leg to the main pedestal. Use 4” spacers to hold the horizontal section of the leg stable as you weld.
2. Apply one tack weld to a top corner, and then confirm that all angles remain at 90°. Continue
to apply the tack welds, opposite corner to the first, then the remaining two.
3. Attach the other three legs with tack welds, using the same method.
4. Clean off any high spots from the tack welds with a wire brush.
5. Fully weld the legs to the pedestal base.
Step 7:
1. Place the welded table top assembly face down. Position the pedestal base in the center of the tabletop, checking that it is centered and perpendicular.
2. Tack two corners and check again for accurate positioning.
3. Complete the remaining two tacks.
4. Reinforce the tacks on all four corners. Do not weld this joint completely to avoid warping the top.
When you’re finished, it’ll probably be time for a cold beverage. Now you’ll have a cool looking steel table to put it on.
Materials
18” of 2” square tubing
12 feet of 1” square tubing
20” square (or larger) piece of 14-gauge steel plate
3/16” thick, flat stock
Welding/Cutting Equipment and Tools
Lincoln Electric POWER MIG® 210 MP Multi-Process Welder
Lincoln Electric Tomahawk® 375 Plasma Cutter
Lincoln Electric Radius™ Pivot Angle Magnetic Fixture
Lincoln Electric Radius Mini Multi Angle Fixture
Welper® pliers
Tape measure
Angle grinder with abrasive disk wire wheel
Welding Helmet
Welding Gloves
Safety Glasses
Welding Jacket or Shirt
Fume Extraction Equipment