
Build an Outdoor Hand Railing
A practical fabrication project demonstrating professional techniques for constructing a safe outdoor handrail.
SAFETY FIRST
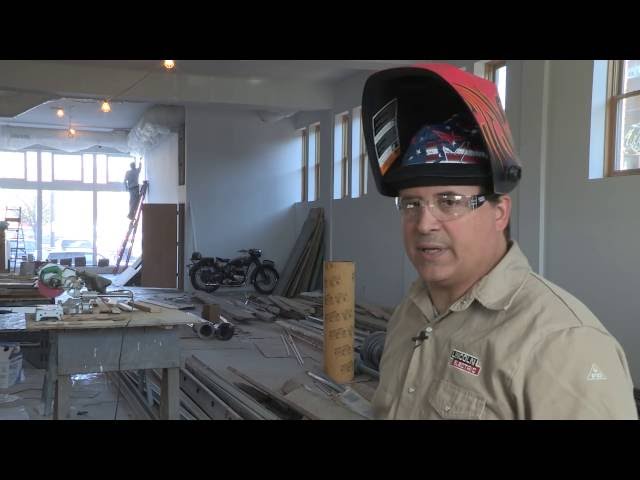
Before you start any project involving welding, make sure you have the right Personal Protective Equipment (PPE), which includes, at least, an ANSI-approved welding helmet, safety glasses, appropriate welding gloves for the process you’re using, and a flame-resistant shirt, jacket, or sleeves to protect from UV rays and burns. You should also keep a fire extinguisher close at hand. Use adequate ventilation when welding. Use an approved respirator if exposure to welding fume cannot be controlled, or if welding outside and natural air movement is not sufficient to keep welding fume out of your breathing zone.
Fabricating an Outdoor Hand Railing for a Building Roof
Fabricating an outdoor handrail is a multifaceted project that involves welding both indoors and outdoors with different techniques. The techniques shown in this project can be applied to your own project, but in this case, our railing was designed to be attached to an existing parapet to surround a rooftop deck. While aesthetics is important, the first priority of an outdoor handrail is its safety. Fabricators working on an outdoor handrail for a commercial building or public venue should always begin by checking with local codes and ordinances.
For this project, the handrail is composed of 10-gauge mild steel square tubing and 0.5-inch bar stock. A significant portion of the fabrication will be done indoors, where I have more control over working conditions. Always use a fume extraction unit when welding indoors to capture weld fume. The welder I used on this project is a Lincoln Electric POWER MIG 210® MP, set at 18.2 volts, manual CV, using Lincoln Electric SuperArc® L-56® MIG wire, 0.035-inch diameter, with a wire speed of 255 inches per minute (IPM). I welded with a gas mix of 75% argon and 25% CO2.
Outdoors, I switched to the Lincoln Electric Innershield® NR® 211-MP flux-cored wire. The flux-cored process (FCAW) is preferred, so I didn’t have to deal with wind blowing away my shielding gas.
Step 1:
Prep structural members. Start by cutting all pieces of mild steel square tubing, using a grinder to clean off any mill scale. Failure to clean will make it harder to get the arc started and get good penetration. Cleaner material also makes for a cleaner weld.
Step 2:
Fit and tack the structural elements. Prepare to tack weld one end of the square tubing. First, make sure the steel tubing is straight and square. Multi-angle and pivot angle magnetic fixtures will help make sure that each piece of the steel tubing remains square and doesn’t move while tack welding. The tack welds will hold the steel tubing in place, allowing us to manipulate the project and get the pieces of bar stock in place for final welding at a later stage. Once a few tack welds are placed, the fixtures can be removed and tacking can continue on the back side.
After the mild steel square tubing is tacked, move to the second (in the middle) and third (on the opposite side) pieces of tubing. Line up each piece with your marks and use the angle fixtures to keep the pieces straight and secure. Tack weld each piece.
Step 3:
Prep horizontal dividers. After the mild steel is tacked together and each piece is centered, straight and true, we move to the 0.5-inch bar stock. Like the mild steel, it is important to grind the mill scale off the bar stock. The magnetic fixtures can keep the bar stock secure to make it easy to grind just like with the steel tubing. Bevel the ends of the bar stock with a grinder prior to welding to ensure better fusion.
Step 4:
Fit, tack, repeat. Make a jig out of scrap metal to help you quickly locate the attachment points for each piece of bar stock. Using your jig as a guide, place all pieces of bar stock into one side of the railing. Tack weld the horizontal bar stock rails, being careful not to weld into the jig. Remove the jig and repeat the process at the other end of the railing.
Step 5:
Add stand-offs. It’s time to turn to the four stand-offs that will attach the railing to the building’s parapet. Your tack welds may be in the way of getting a good 90° angle fit-up of the stand-offs. If so, grind them flat and remove any remaining mill scale. A pair of multi-angle magnetic fixtures can be helpful in making sure the piece does not move while welding and stays at a 90-degree angle. Tack weld each stand-off.
Step 6:
Finish weld all joints. Since a handrail is a large object, it’s not easy to flip over or upside down. So the fabricator will be welding in different positions on each side, including vertical down and horizontal. MIG is the ideal machine for all-position welding. There will be good penetration on the 10-gauge steel.
Step 7:
Outdoor fit-up and welding. The project moves outside to the building roof to join individual railing pieces. On old buildings, corners are almost never true, which made the final fit-up for this project a challenge. In this case, the top corner fit well, so we welded that joint, then turned our attention to the bottom joint. After some cajoling, we had a gap that we could live with, but needed to use a weave weld to deposit enough metal to fill the gap and create a good joint. Knocking the slag off the joint revealed a good quality weld, given the poor fit-up.
Materials
• 10-gauge mild steel square tubing
• 0.5-inch steel bar stock
Welding/Cutting Equipment and Tools
• Lincoln Electric POWER MIG® 210 MP Multi-Process Welder
• Lincoln Electric Miniflex® portable welding fume extractor
• Lincoln Electric SuperArc® L-56® MIG wire, 0.035-inch diameter
• Lincoln Electric Innershield® NR®-211-MP flux-cored wire
• Gas, 75/25 mix (75% Argon and 25% CO2)
• Angle Grinder
Other Tools
• Magnetic fixtures – multi-angle and pivot angle
Personal Protective Equipment
• ANSI-approved welding helmet
• Safety glasses
• Fire-resistant jacket
• MIG welding gloves
• Lincoln Electric SteelWorker™ gloves (to fabricate the steel)
• Fire extinguisher